![]()
FreeBSD 下的虚拟技术 bhyve (The BSD Hypervisor) 是去年1月份正式发布的,包含在了 FreeBSD 10.0 发行版中。今天要玩的这个 xhyve 是基于 bhyve 的 Mac OS X 移植版本,也就是说我们想在 Mac 上运行 Linux 的话除了 VirtualBox, VMware Fusion 外,现在有了第三种选择。
xhyve is a lightweight virtualization solution for OS X that is capable of running Linux. It is a port of FreeBSD’s bhyve, a KVM+QEMU alternative written by Peter Grehan and Neel Natu.
特点:
- super lightweight, only 230 KB in size
- completely standalone, no dependencies
- the only BSD-licensed virtualizer on OS X
- does not require a kernel extension (bhyve’s kernel code was ported to user mode code calling into Hypervisor.framework)
- multi-CPU support
- networking support
- can run off-the-shelf Linux distributions (and could be extended to run other operating systems)
xhyve may make a good solution for running Docker on your Mac, for instance.
install
search xhyver:
1 | brew info xhyve |
install:
1 | brew install xhyve |
Ubuntu 16.04 VM
下载ubuntu-16.04.1-server-amd64.iso,装载该iso,然后将其中的vmlinuz和initrd.gz复制出来,以供xhyve使用。
在mac系统下直接装载ubuntu的iso会出错
1 | hdiutil attach ./ubuntu-16.04.1-server-amd64.iso |
所以需要制作一个新的iso,新的iso文件前预留2KB的空间
1 | dd if=/dev/zero bs=2k count=1 of=./tmp.iso |
创建一个磁盘映像文件hdd.img,当作虚拟机的虚拟硬盘
1 | dd if=/dev/zero of=hdd.img bs=1g count=8 |
编写VM创建脚本mk_xhyve.sh
1 | !/bin/bash |
运行VM创建脚本sudo sh ./mk_xhyve.sh创建ubuntu虚拟机
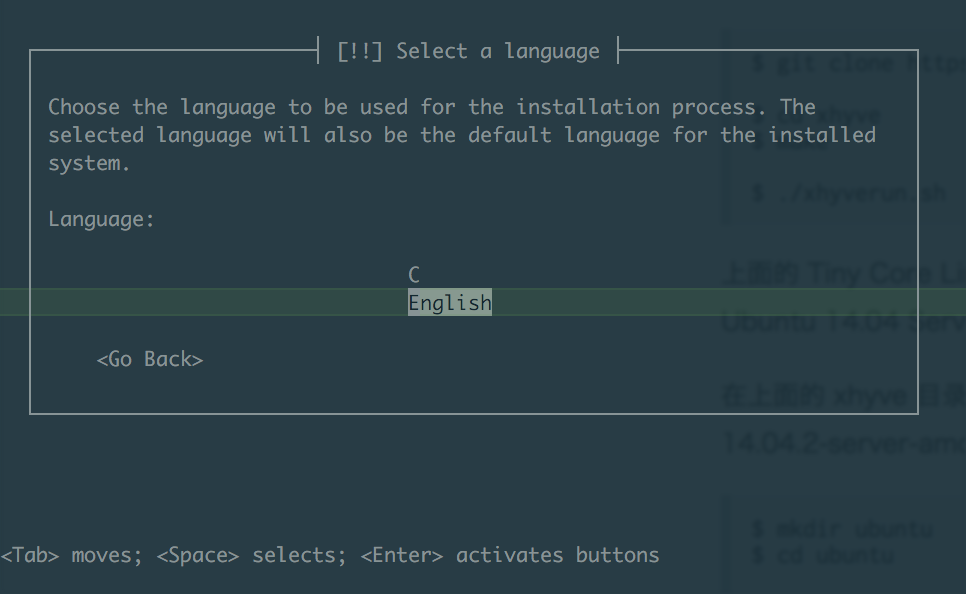
按正常系统安装方法安装。。。
待成功安装完成后选择<Go Back> => Execute a shell,进入iso的shell界面,然后需要将已经安装好的hdd.img也就是系统中的/dev/vda中的boot目录copy出来,因为要用里面的vmlinuz-4.4.0-31-generic和initrd.img-4.4.0-31-generic
进入shell后先查看一下ip地址
1 | BusyBox v1.22.1 (Ubuntu 1:1.22.0-15ubuntu1) built-in shell (ash) |
发现没有获取到ip地址,此时shell用的是busybox,是没有dhclient的,不过busybox提供udhcpc -i <interface>。
获取到ip地址后,vm可以通过tar c ./boot | nc -l -p 1234将boot目录发送给宿主机,宿主机用nc <vm ip> 1234 | tar x接受boot目录。
获得到boot目录后取出其中的vmlinuz-4.4.0-31-generic和initrd.img-4.4.0-31-generic,然后修改VM创建脚本
1 | !/bin/bash |
并执行sudo sh ./mk_xhyve.sh
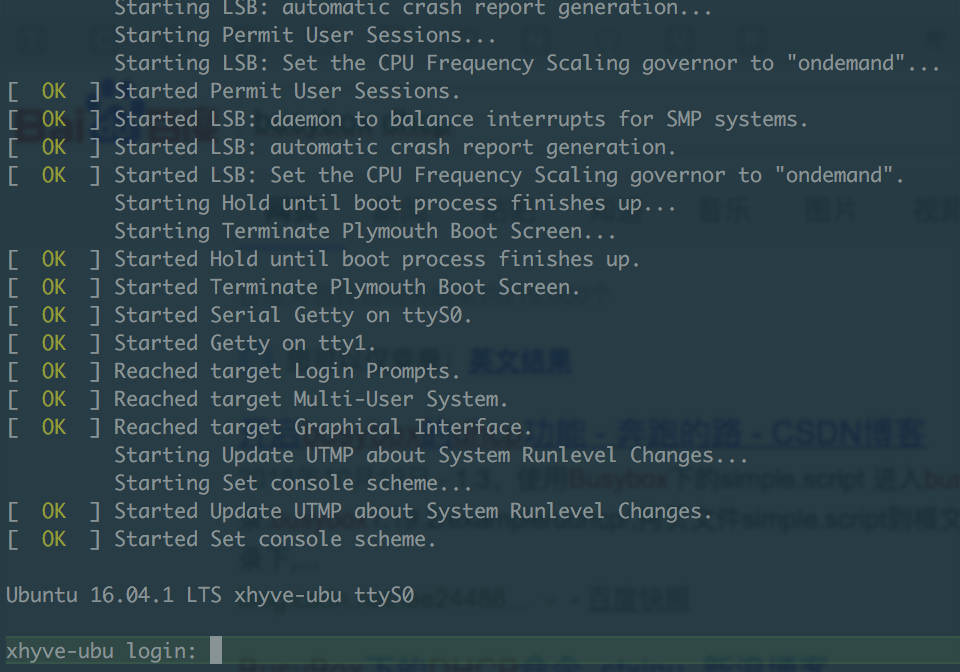
ubuntu 16.04 正常启动了,over!